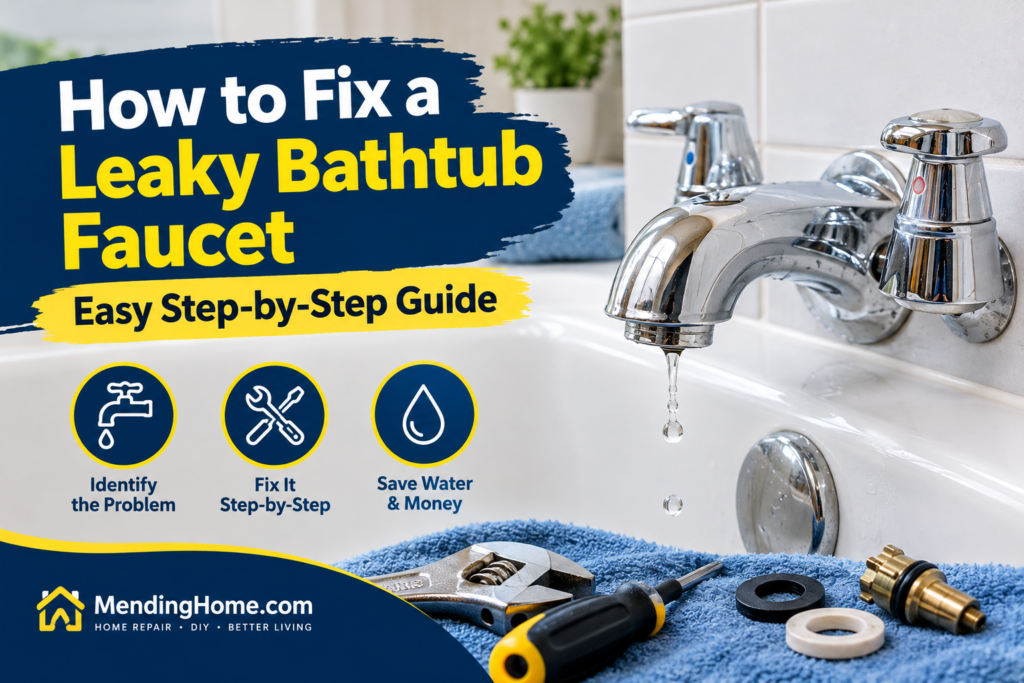
A leaky bathtub faucet can be annoying, especially when you hear water dripping long after you have turned the handle off. Even a small leak can waste water, increase your water bill, and become a bigger plumbing problem if you ignore it.
The good news is that many bathtub faucet leaks can be fixed with basic tools and a few replacement parts. The right repair depends on where the water is leaking and what type of faucet you have.
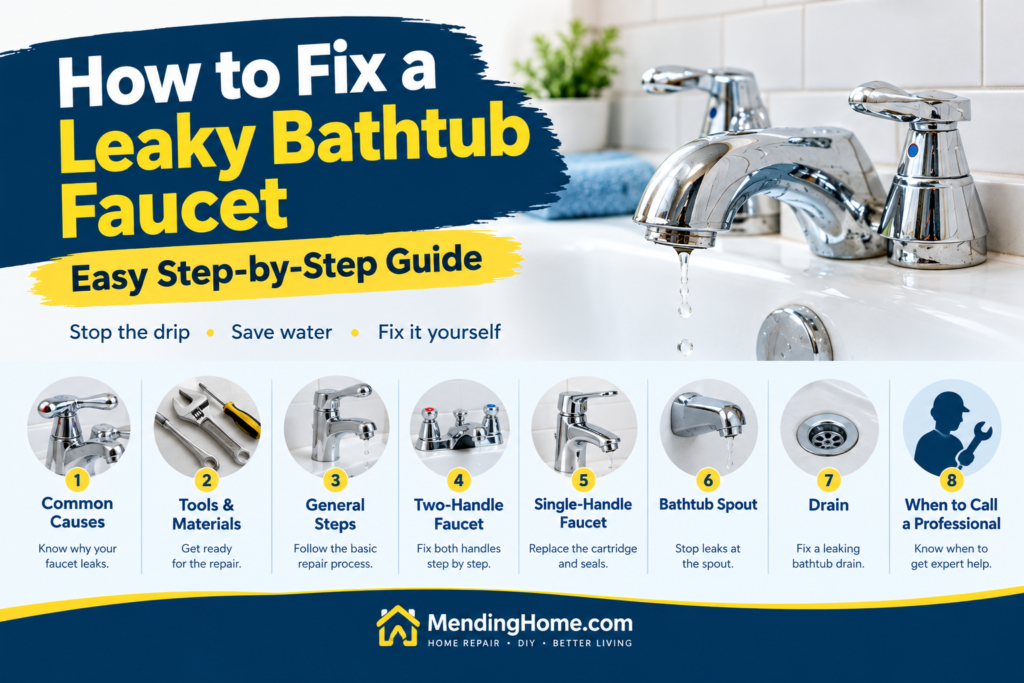
In this guide, you will learn how to identify common causes, repair a two-handle or single-handle bathtub faucet, fix a leaking spout, and understand what to do about a bathtub drain leak. You will also learn when it is safer to call a professional plumber.
Common Causes of a Leaky Bathtub Faucet
Before starting a repair, try to identify where the water is coming from. Different problems require different solutions.
1. Worn Washers or Seals
Traditional compression faucets often use rubber washers to stop water flow. Over time, these washers can become hard, cracked, or worn out. Water may continue dripping from the spout even when the faucet is fully closed.
Replacing the damaged washer may solve the problem.
2. A Damaged Cartridge
Many modern faucets use a cartridge to control water flow and temperature. A worn or damaged cartridge may allow water to pass through even when the handle is turned off.
If your faucet uses a cartridge, check the manufacturer’s instructions before buying a replacement. Cartridges can look similar but may not fit the same faucet.
3. Faulty O-Rings
O-rings are small rubber rings that help prevent leaks around moving faucet parts. If an O-ring becomes damaged or loses its shape, water may leak around the handle or faucet stem.
Replacing the correct O-ring can often stop this type of leak.
4. Loose or Damaged Faucet Parts
A loose handle, worn valve component, or damaged connection can also cause leaking. Sometimes tightening an accessible connection helps, but overtightening can damage threads or fittings.
5. A Leaking Bathtub Spout or Pipe Connection
Water leaking from behind the spout or from the wall may indicate a loose connection, damaged pipe, or failing seal. This problem may require more than replacing a washer.
6. A Problem with the Bathtub Drain
Water around the bathtub drain does not always mean the faucet is leaking. A worn drain gasket, loose drain fitting, or damaged overflow gasket may allow water to escape when the tub is filled or drained.
First, determine whether the leak occurs while the faucet is running, after the faucet is turned off, or only when water collects in the tub.
Tools and Materials You’ll Need
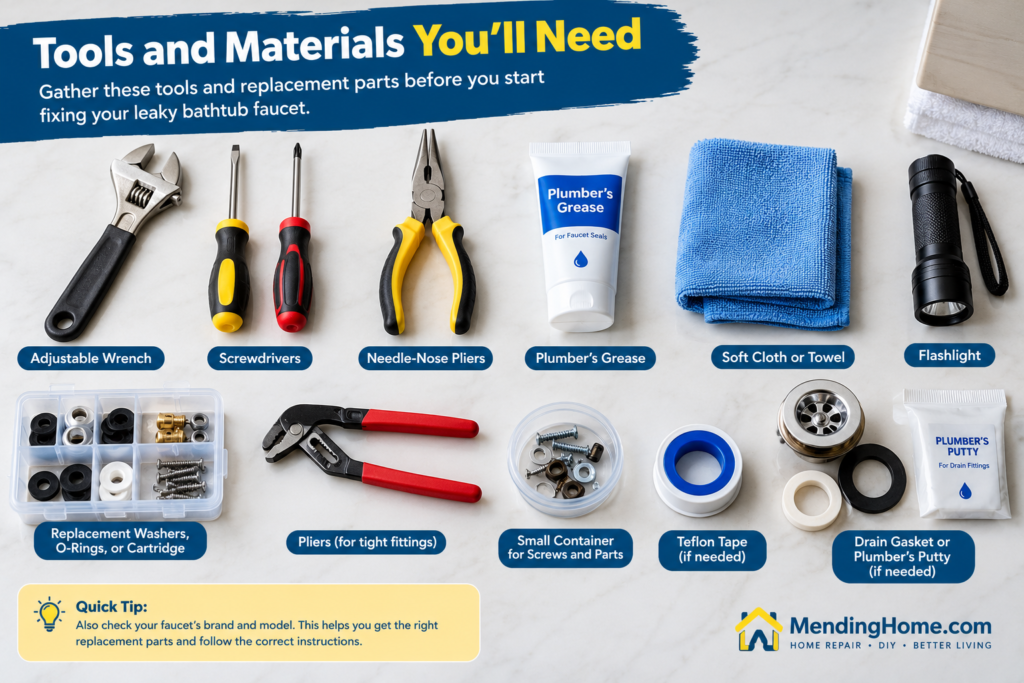
Gather the tools and replacement parts before starting the repair. You may not need everything on this list.
- Adjustable wrench
- Screwdrivers
- Replacement washer, O-ring, or faucet cartridge
- Needle-nose pliers
- Plumber’s grease suitable for faucet seals
- Soft cloth or towel
- Flashlight
- Small container for screws and parts
- Appropriate drain gasket or plumber’s putty, if the drain requires repair
You should also know the faucet’s brand and model if possible. Check the manufacturer’s website or product manual to identify the correct replacement parts.
Safety tip: Turn off the water supply before removing faucet parts. If you cannot find the shut-off valves, you may need to turn off the home’s main water supply. Do not begin disassembly until the water is safely shut off and the pressure has been released.
How to Fix a Leaky Bathtub Faucet (General Steps)
These general steps help you prepare for most faucet repairs. The exact procedure depends on your faucet design.
Step 1: Identify the Leak
Look closely at the faucet and surrounding area.
- Water dripping from the spout after the handle is closed may indicate a worn washer, cartridge, or valve.
- Water leaking around the handle may indicate a damaged O-ring or seal.
- Water coming from behind the spout may point to a pipe connection or wall plumbing problem.
- Water collecting around the drain may indicate a drain or gasket leak.
If you are unsure where the water originates, dry the area with a towel and observe it carefully.
Step 2: Turn Off the Water Supply
Locate the appropriate shut-off valves, if available, and close them. If there are no accessible valves, turn off the main water supply as needed.
Open the faucet to release any remaining pressure and confirm that the water has stopped flowing.
Step 3: Protect the Bathtub
Place a towel over the bathtub surface to protect the finish and prevent small screws from falling into the drain. Keep tools away from delicate chrome or other faucet finishes.
Step 4: Remove the Handle
Look for a screw under a decorative cap, behind the handle, or on the side of the handle. Remove it using the correct screwdriver or Allen key.
Carefully pull the handle off. Avoid forcing it, as older handles may be stuck because of mineral buildup or corrosion.
Step 5: Inspect the Faucet Parts
Depending on the faucet type, you may find a cartridge, valve stem, washer, or O-ring. Look for cracks, worn rubber, corrosion, or mineral deposits.
Take a photo before removing parts. This can help you remember how everything fits together.
Step 6: Replace the Damaged Part
Use the old part to identify the correct replacement. Follow the faucet manufacturer’s instructions for removing and installing the component.
Apply only a small amount of compatible plumber’s grease to the seals if the manufacturer recommends it. Do not use grease on parts where it is not approved.
Step 7: Reassemble and Test
Reinstall the faucet components and handle in the correct order. Restore the water supply slowly and check for leaks.
Turn the faucet on and off several times. Look around the handle, spout, and visible connections. If the leak continues, the problem may involve another valve component or the plumbing behind the wall.
How to Fix a Leaky Bathtub Faucet with Two Handles
A two-handle bathtub faucet usually has separate controls for hot and cold water. The cause of the leak may be a worn washer, damaged valve stem, faulty cartridge, or seal.
Step 1: Find Which Handle Is Causing the Problem
If the faucet drips when turned off, identifying the faulty side may help. In some cases, the leak is related to one valve; in others, both sides may need inspection.
Turn off the water supply before disassembling either handle.
Step 2: Remove the Handle and Valve Components
Remove the handle screw and lift off the handle. Depending on the design, you may need to remove a decorative trim piece or retaining nut to access the valve stem or cartridge.
Use the correct tool and avoid scratching the finish.
Step 3: Inspect the Washer or Cartridge
If the faucet uses a compression valve, inspect the rubber washer at the end of the valve stem. Replace it if it is cracked, flattened, or worn.
If the faucet uses a cartridge, remove it according to the manufacturer’s directions and install the correct replacement.
Step 4: Check the Seals
Inspect accessible O-rings and seals for damage. Replace worn parts with matching components. Avoid pulling apart sealed assemblies that are not designed to be serviced.
Step 5: Reassemble and Test
Put the parts back in their original positions and reinstall the handle. Restore the water supply and test the faucet.
If the faucet still drips, the valve seat or another internal component may be damaged. Further repair or professional service may be necessary.
How to Fix a Leaky Bathtub Faucet with a Single Handle
A single-handle bathtub faucet uses one handle to control water flow and temperature. Many models use a cartridge, although the internal design varies.
Step 1: Shut Off the Water
Turn off the water supply and open the faucet to release pressure. Protect the bathtub with a towel before removing any parts.
Step 2: Remove the Handle
Locate the handle screw, which may be hidden under a decorative cap or located on the side. Remove the screw and carefully lift off the handle.
Step 3: Remove the Cartridge
Remove the trim or retaining clip as directed by the manufacturer. Note the cartridge’s position before pulling it out.
Some cartridges can be difficult to remove. Use a suitable cartridge puller if needed rather than forcing the part and damaging the valve body.
Step 4: Install the Correct Replacement
Match the replacement cartridge to the faucet’s brand and model. Check its shape, length, and alignment before installation.
Follow the manufacturer’s instructions to insert and secure the new cartridge. Make sure any alignment marks or hot-and-cold orientation requirements are followed.
Step 5: Reassemble and Check for Leaks
Reinstall the retaining clip, trim, and handle. Restore the water supply slowly and test the faucet at different temperatures.
If water continues to drip, the valve body or another internal component may be damaged. Do not keep tightening parts in an attempt to force the leak to stop.
How to Fix a Leaky Bathtub Spout
A bathtub spout can leak from its opening or from the connection where it meets the wall. These are different problems.
If Water Drips from the Spout Opening
If water continues dripping after the handle is closed, the problem may be inside the faucet valve. Replacing the spout alone usually will not fix a valve that is allowing water to pass through.
Inspect and repair the faucet valve as described in the earlier sections.
If Water Leaks Behind the Spout
First, turn off the water supply. Some bathtub spouts are attached with a threaded connection, while others use a set screw to secure them to a pipe.
Check the manufacturer’s instructions to identify your spout type. Remove it carefully if it is designed to be serviced, then inspect the visible pipe and connection.
Replace a damaged spout or appropriate seal, and follow the manufacturer’s instructions for reinstalling it. Use only compatible sealing materials where specified.
If the pipe is loose, badly corroded, or leaking inside the wall, stop and contact a plumber. Water entering the wall can cause hidden damage.
If your sink faucet is also leaking, read our guide on how to fix a leaky faucet.
How to Fix a Leaky Bathtub Drain
A leaking bathtub drain is different from a leaking faucet. The source may be the drain gasket, drain fitting, overflow gasket, or nearby plumbing.
Step 1: Confirm Where the Water Escapes
Dry the area around the drain and inspect it while adding a small amount of water to the tub. If possible, check the ceiling or accessible area beneath the bathtub for signs of moisture.
Do not fill the tub if you suspect a significant leak.
Step 2: Inspect the Drain and Overflow
Look for loose fittings, damaged seals, cracks, or signs of corrosion around the drain and overflow plate.
If water leaks only when the water level reaches the overflow opening, the overflow gasket or connection may be the cause.
Step 3: Replace the Appropriate Seal
Some drain fittings can be removed using a suitable drain tool. The correct replacement gasket or sealing method depends on the drain design.
Follow the manufacturer’s instructions for installing the new seal. Plumber’s putty is suitable for some drain assemblies but not all materials or designs; use the specified sealant or gasket when required.
Step 4: Test Carefully
Allow any sealant to cure for the time stated by its manufacturer. Then add a small amount of water and check for leaks before using the bathtub normally.
If the drain fitting is corroded, the plumbing is difficult to access, or water is leaking beneath the tub, a plumber can diagnose and repair the problem safely.
When to Call a Professional
Many basic faucet repairs are manageable for homeowners, but some problems require professional help.
Call a licensed plumber if:
- Water is leaking from inside the wall or ceiling.
- You see damaged, badly corroded, or broken pipes.
- The shut-off valve will not close properly.
- A faucet continues leaking after the correct parts have been replaced.
- The valve body is damaged or difficult to access.
- You suspect a hidden drain or overflow leak.
- The repair requires opening the wall or changing plumbing connections.
If you notice water damage, mold, or a wet ceiling below the bathroom, address the source promptly. Avoid using the affected fixture until the leak has been assessed if continued use could cause more damage.
Frequently Asked Questions
1. Why does my bathtub faucet drip after I turn it off?
A faucet that continues dripping may have a worn washer, damaged cartridge, faulty valve seal, or another internal problem. The correct repair depends on the faucet design. If the dripping continues after the appropriate repair, have the valve inspected.
2. Can I fix a leaky bathtub faucet without replacing the whole faucet?
Yes. Many leaks can be repaired by replacing a washer, O-ring, cartridge, or other serviceable component. However, a badly corroded valve body or damaged plumbing may require more extensive repair.
3. How much water does a dripping bathtub faucet waste?
The amount depends on the leak rate. A slow drip may waste less water than a steady stream, but even a small leak can add up over time. Fixing the leak promptly helps avoid unnecessary water waste and may prevent further damage.
Final Thoughts
Fixing a leaky bathtub faucet often starts with identifying the source of the water. A worn washer, damaged cartridge, or faulty seal may be the cause, while leaks around the spout, drain, or wall connections may require a different repair.
Turn off the water before disassembling the faucet, use replacement parts that match your model, and follow the manufacturer’s instructions. Test the repair carefully before returning the bathtub to normal use.
If you cannot locate the leak or it continues after a careful repair, calling a professional plumber can save time and help prevent water damage. Addressing the problem early is a simple way to keep your bathroom working properly and reduce wasted water.
If your water pressure is also a problem in your home, check out our guide on how to fix low water pressure.